We may not be HGTV over here [as much as we like to think we’re Joanna Gaines] 😆, but we do love a good home refresh and the feeling you get after tackling a project! It may seem overwhelming to take on, but here are some DIY projects that are LIY approved and sure to help scratch that itch of switching things up in your home! Did we mention that it can also save some serious coin?!
After you’re all done DIY-ing check out our favorite non-seasonal home decor here!
Living Room
Sthefany’s Curtain Rod Holder
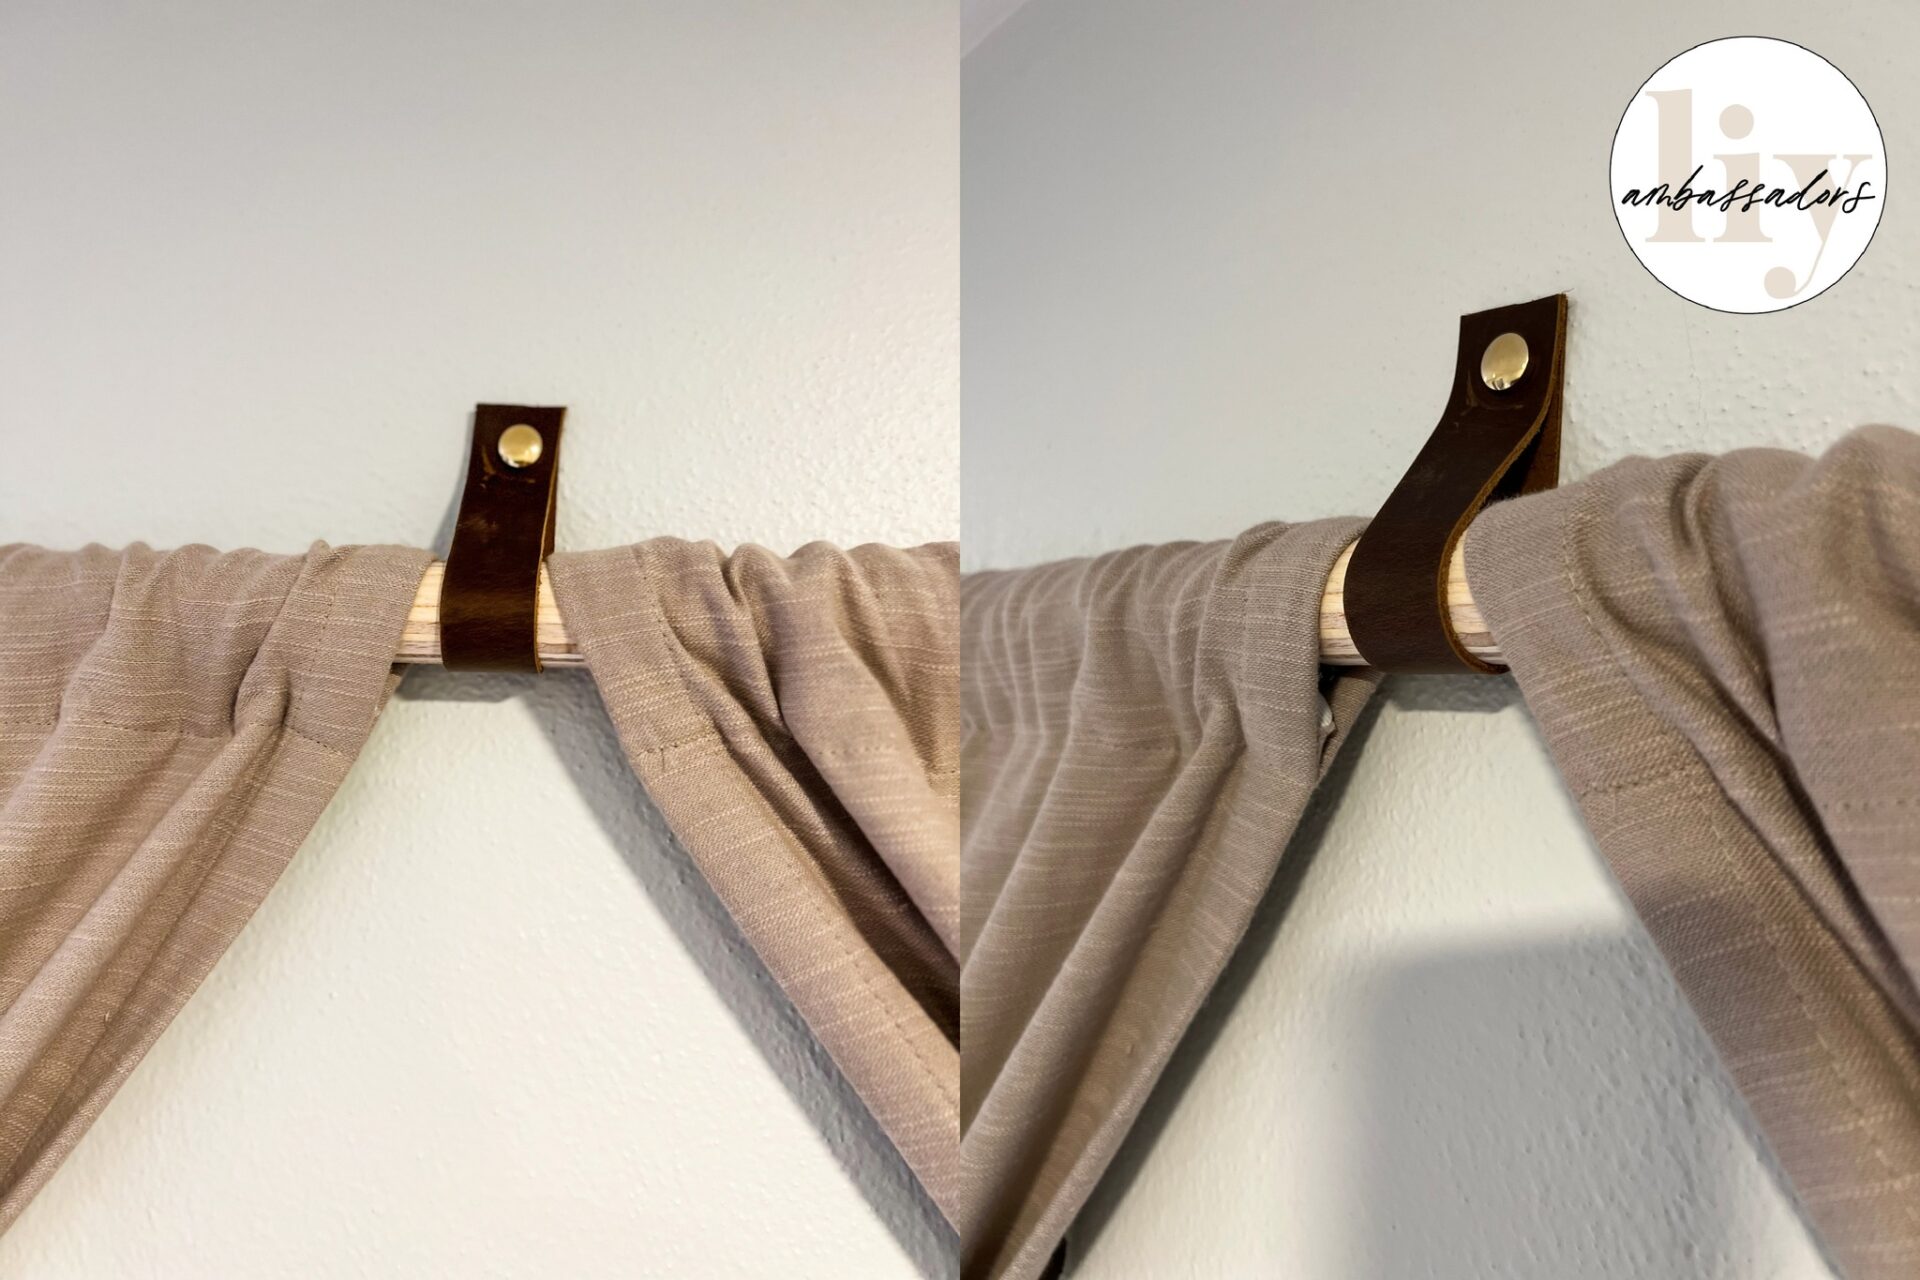
Decorative Mirror Nails // Leather Sheets
DIY Projects ![]() I found leather curtain rod holders on Pinterest that would go great with my house. But after looking at the price, I decided to take matters into my own hands and went to Amazon to grab a sheet of leather and screws with caps. The cost for both items was about $50 but got a total of twenty holders from the sheet of leather. I love how it turned out and will be putting them in every room
I found leather curtain rod holders on Pinterest that would go great with my house. But after looking at the price, I decided to take matters into my own hands and went to Amazon to grab a sheet of leather and screws with caps. The cost for both items was about $50 but got a total of twenty holders from the sheet of leather. I love how it turned out and will be putting them in every room
Bathroom
Cassidy’s Peel & Stick Wall Tiles

Cassidy’s Peel & Stick Floor Tiles
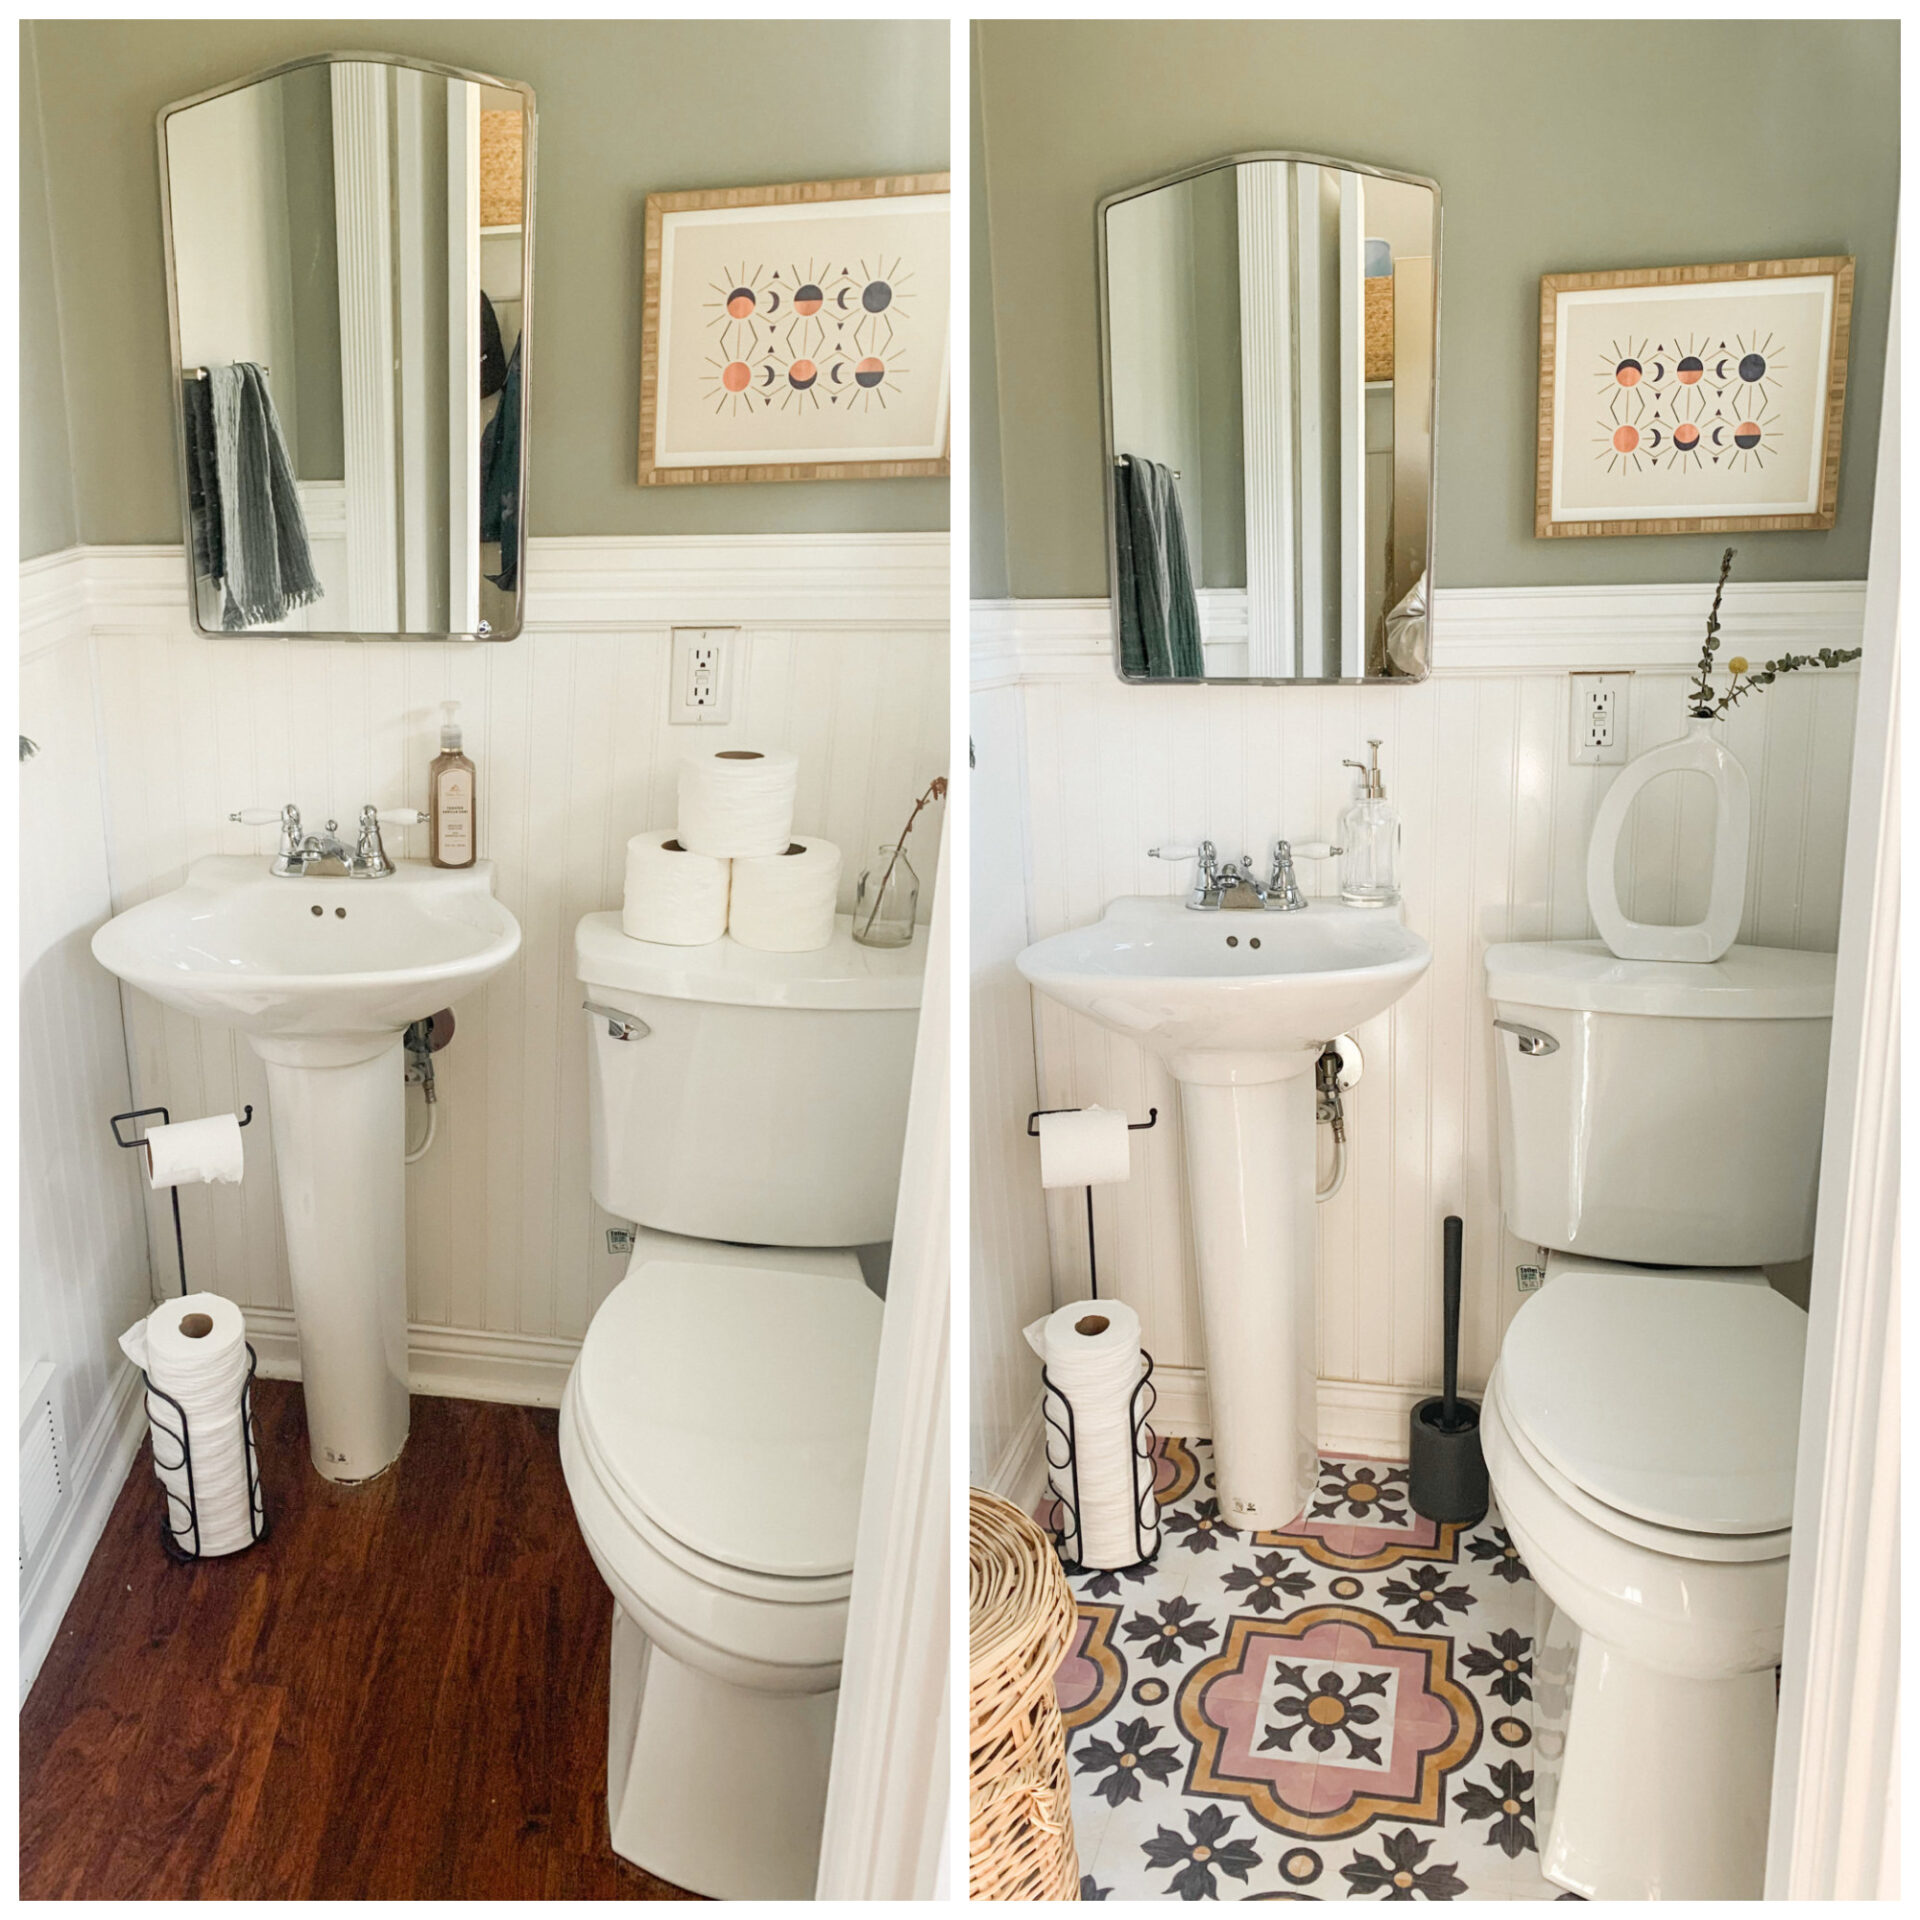
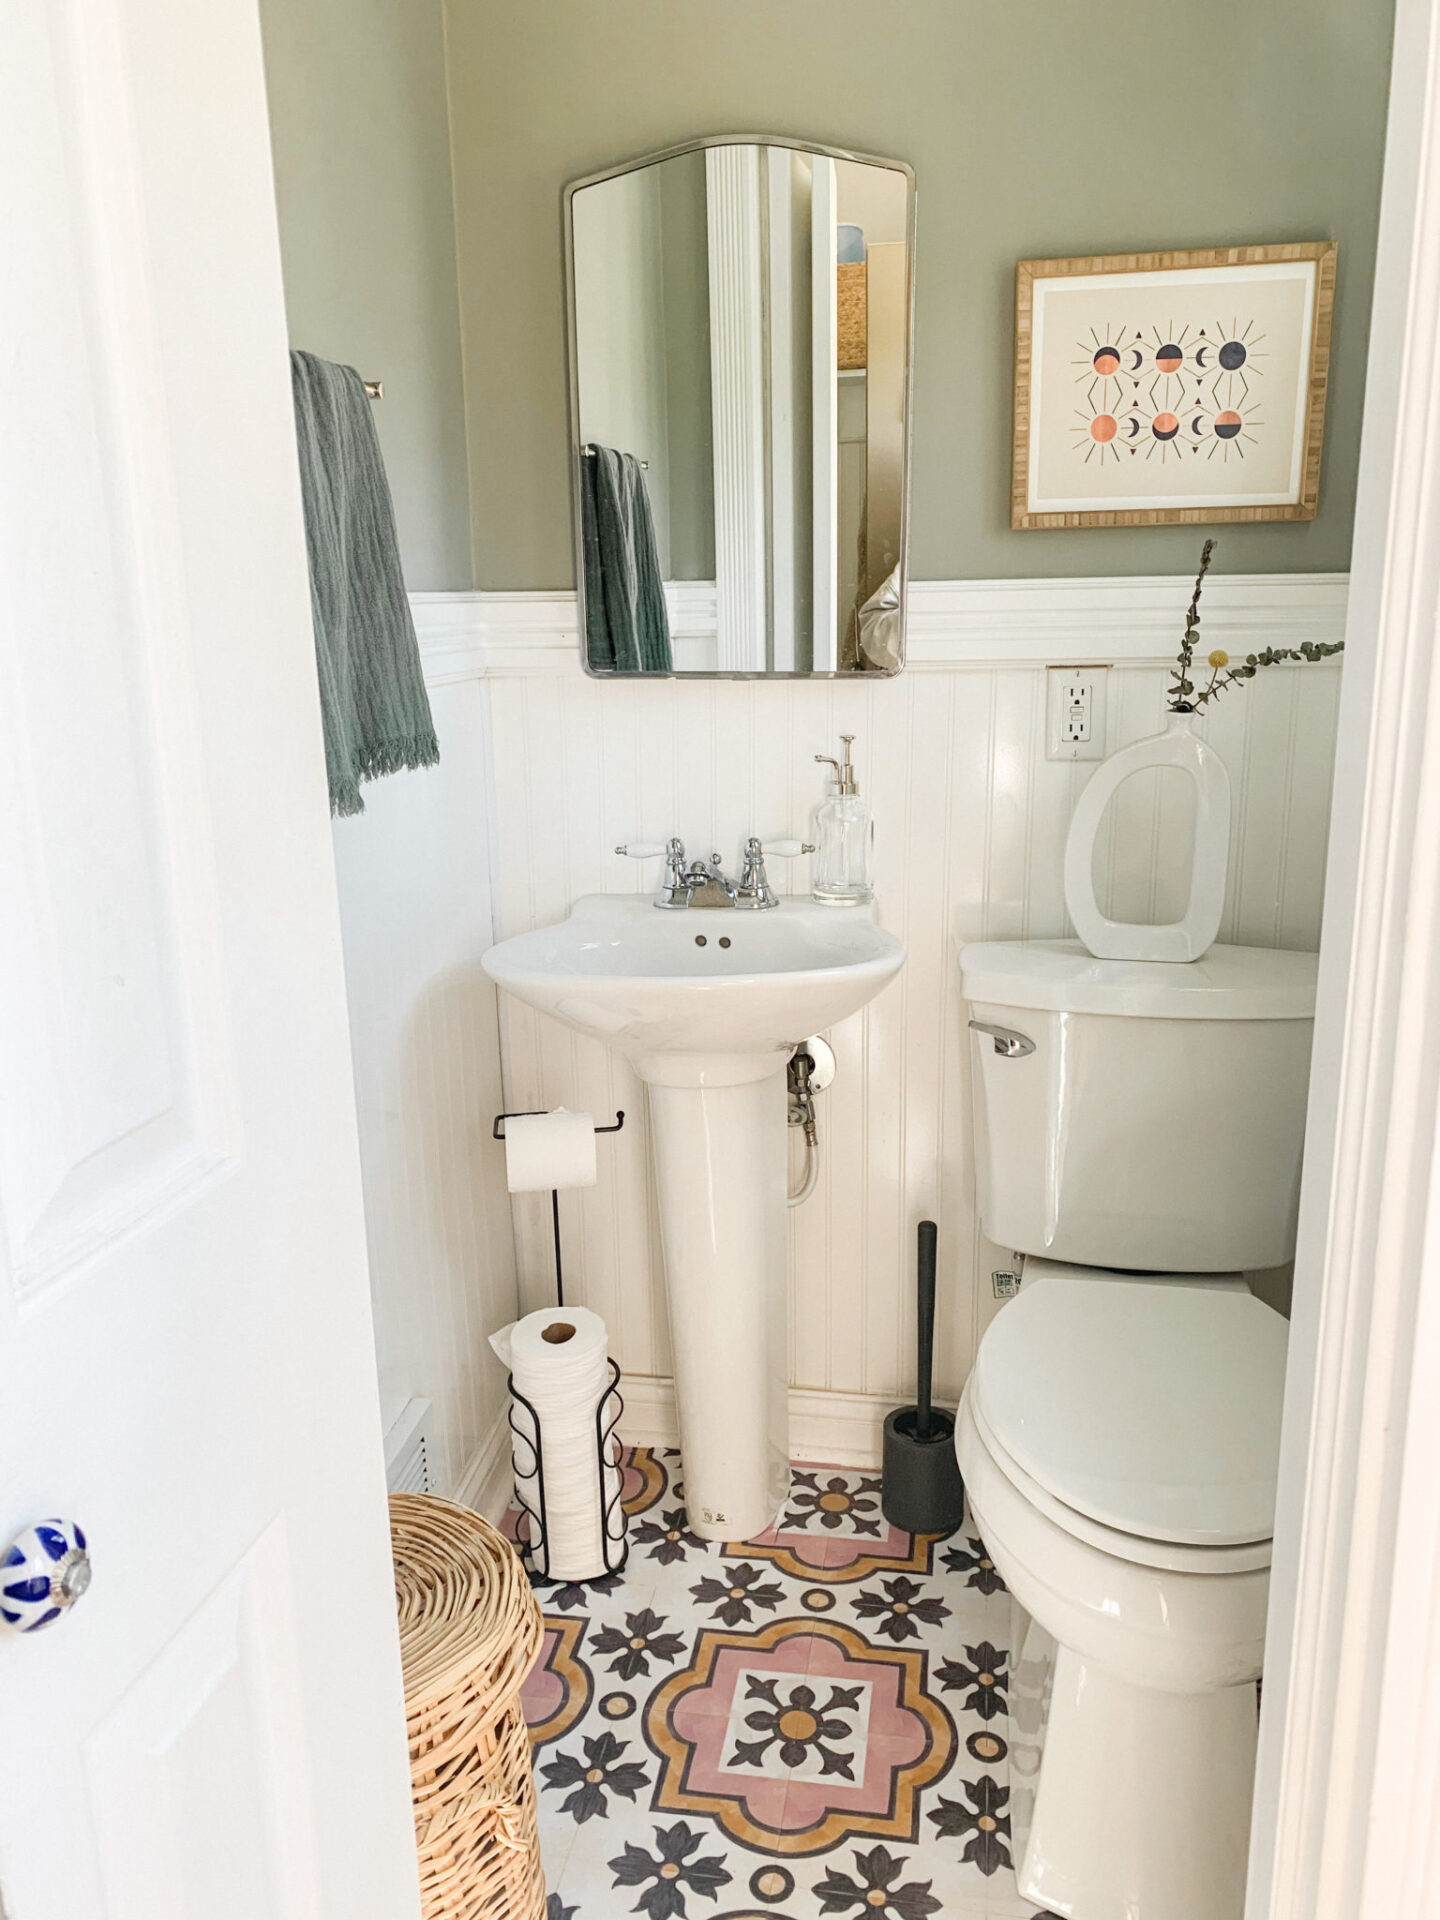
I am in love with the way these peel and stick floor tiles turned out in our powder room! How cute right!?!
They are pretty easy to apply if you take the correct measurements and plan ahead! They don’t leave any sticky residue so they are extremely renter friendly! I will say, it was difficult to settle on a style because there are so many cute patterns ![]() , see them all here!
, see them all here!
Steph’s Counter Painting Kit
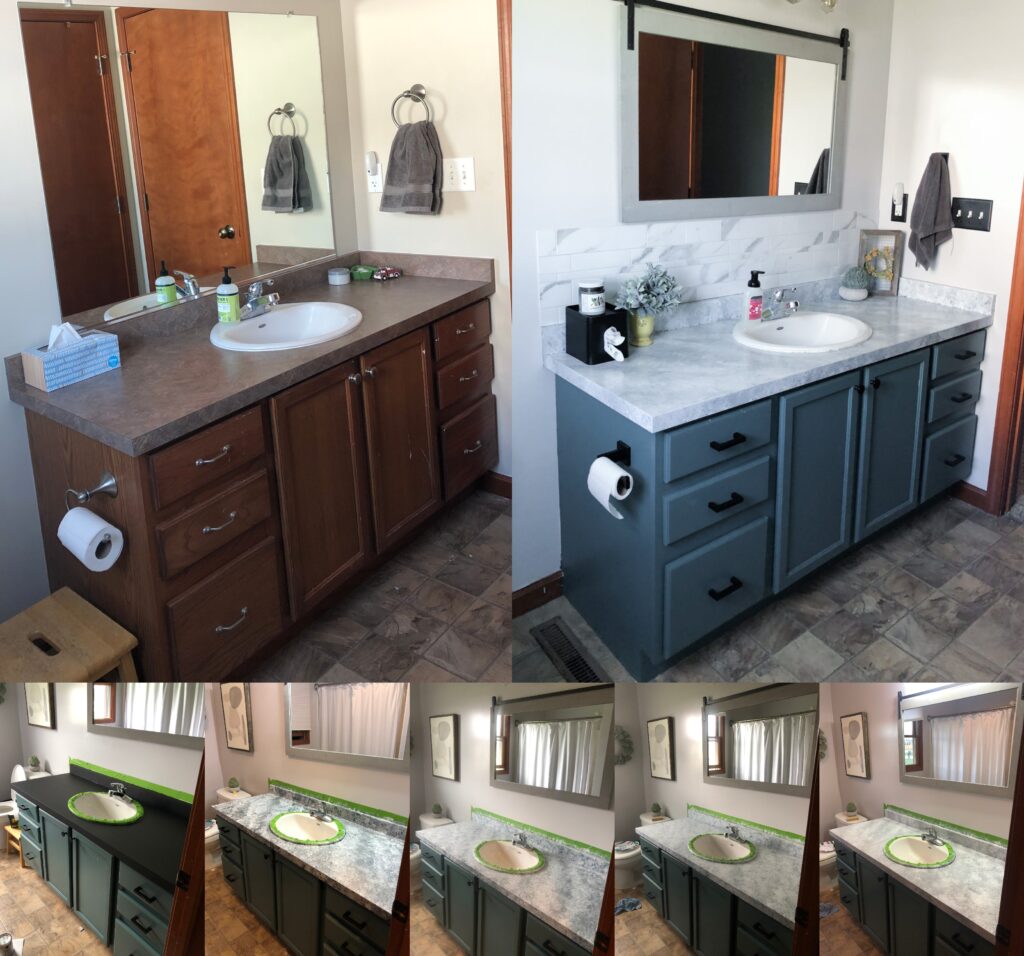
Counter Painting Kit [White Diamond] // Mirror [40 x 26, Grey] // Peel and Stick Backsplash [Railroad Calacatta] // Drawer Pulls [3 inch, be sure to measure!] // Round Knobs // Toilet Paper Holder // Towel Hooks // Similar Light Fixture // Tissue Box Cover // Cabinet Paint Color: Riverway by Sherwin Williams
This Counter Painting Kit made this counter glow up so easy! The kit suggests starting off with a black base layer and rollers. Also included were three colors to create a pattern, a topcoat and a sponge (one big ball that I ripped apart into the sizes I wanted to work with). Then it was just up to me to decide the pattern I was going for. In the photos above, you can see the layers I applied to the counter, allowing it to dry for approximately 4 hours between each application. If you’re a visual learner like me, check out this site!
Hannah’s Bathroom Update
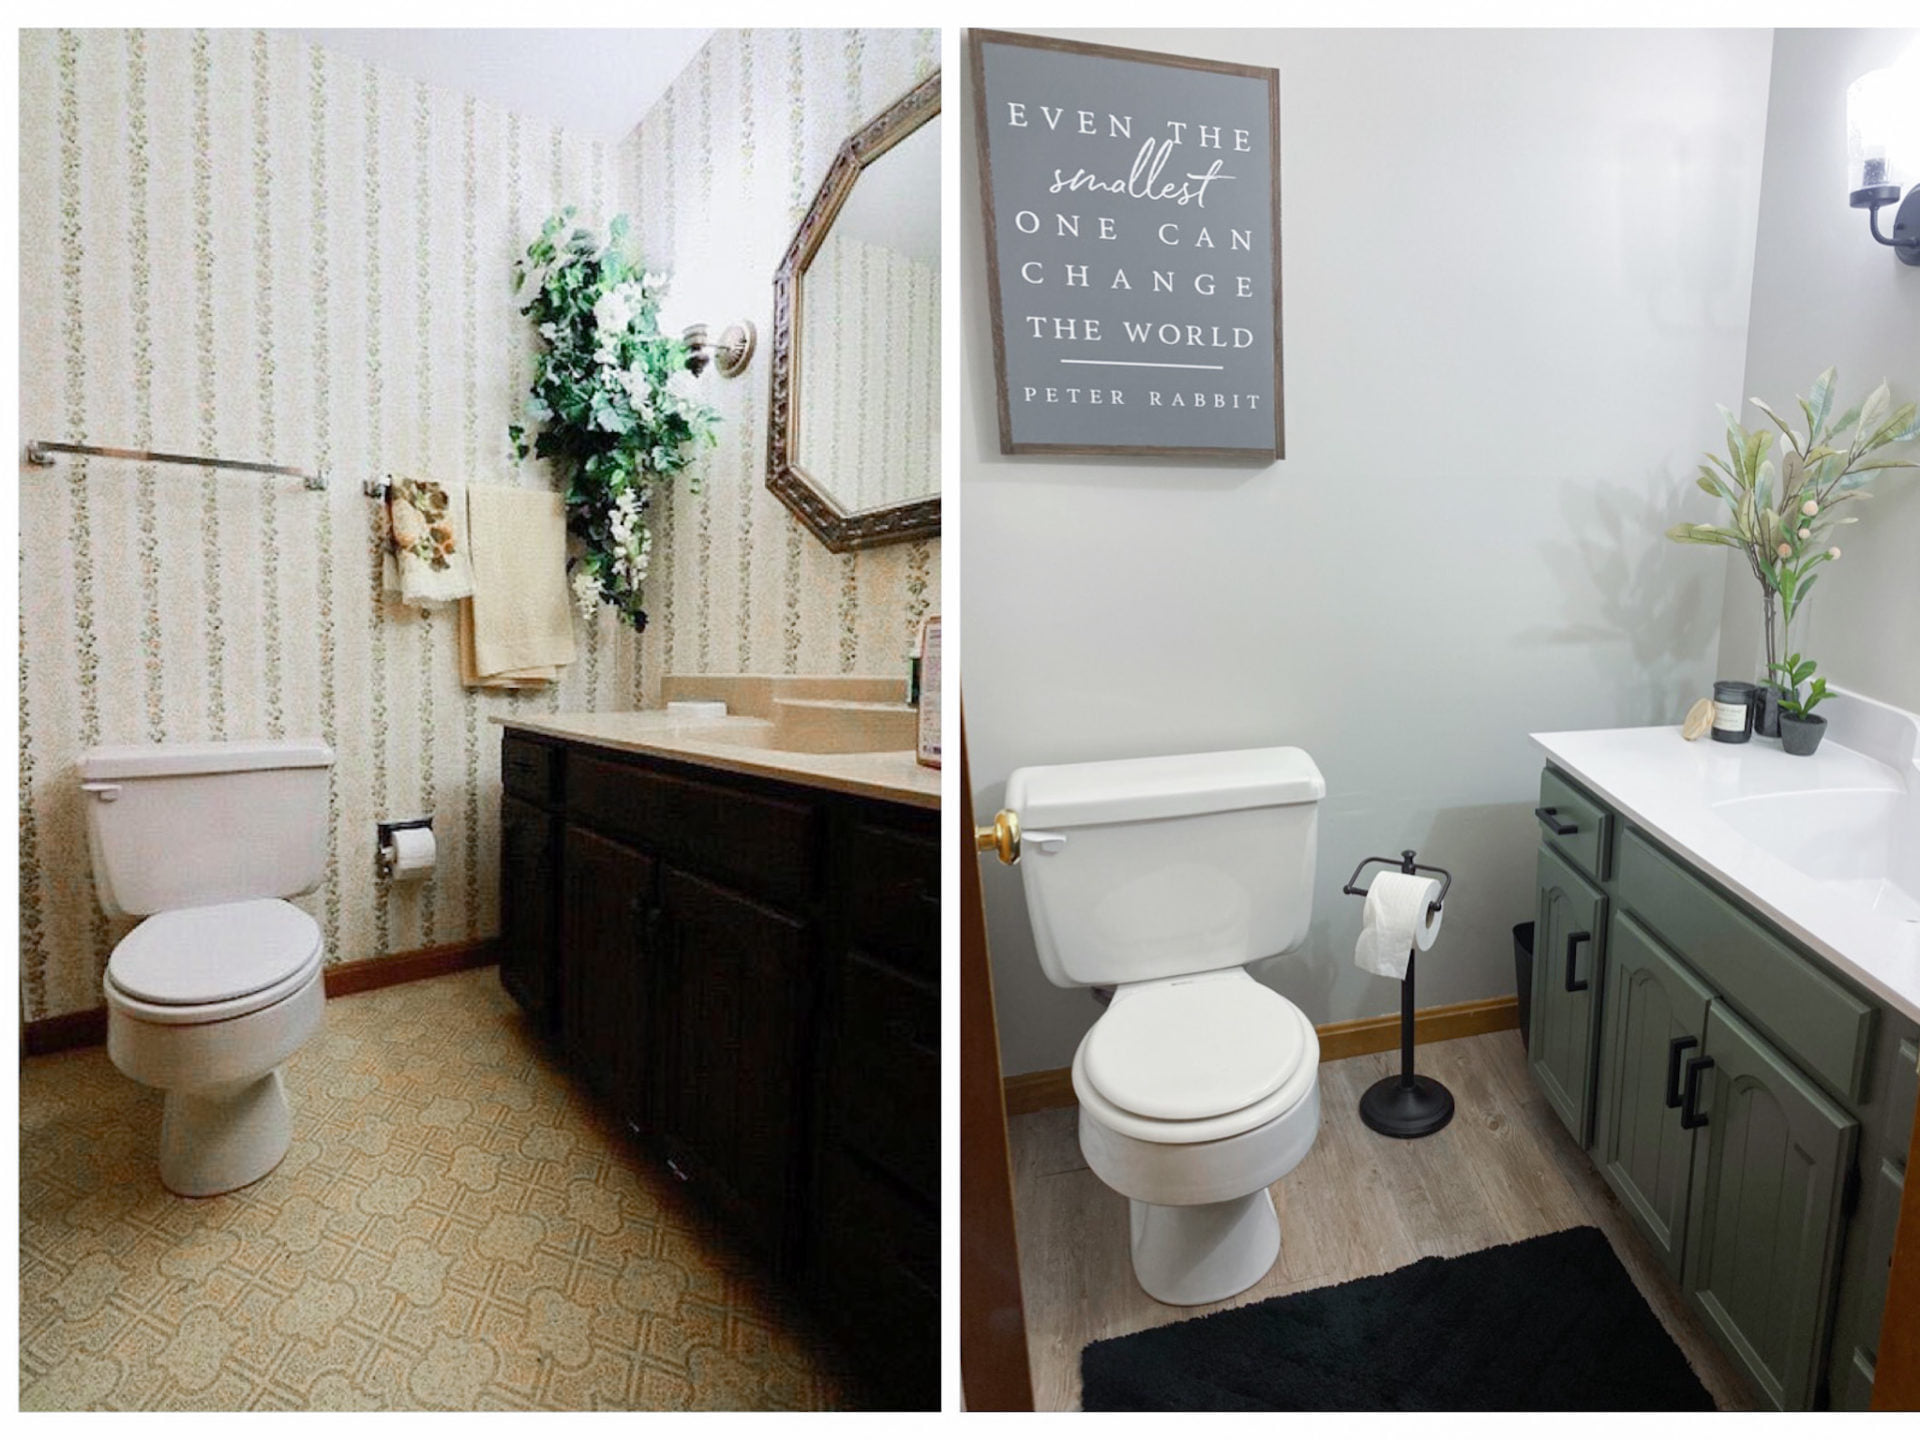
Peel & Stick Flooring [in Oak] // Faucet // Lights // Cabinet Pulls // Wall print
Kitchen
Peel & Stick Wall Tiles
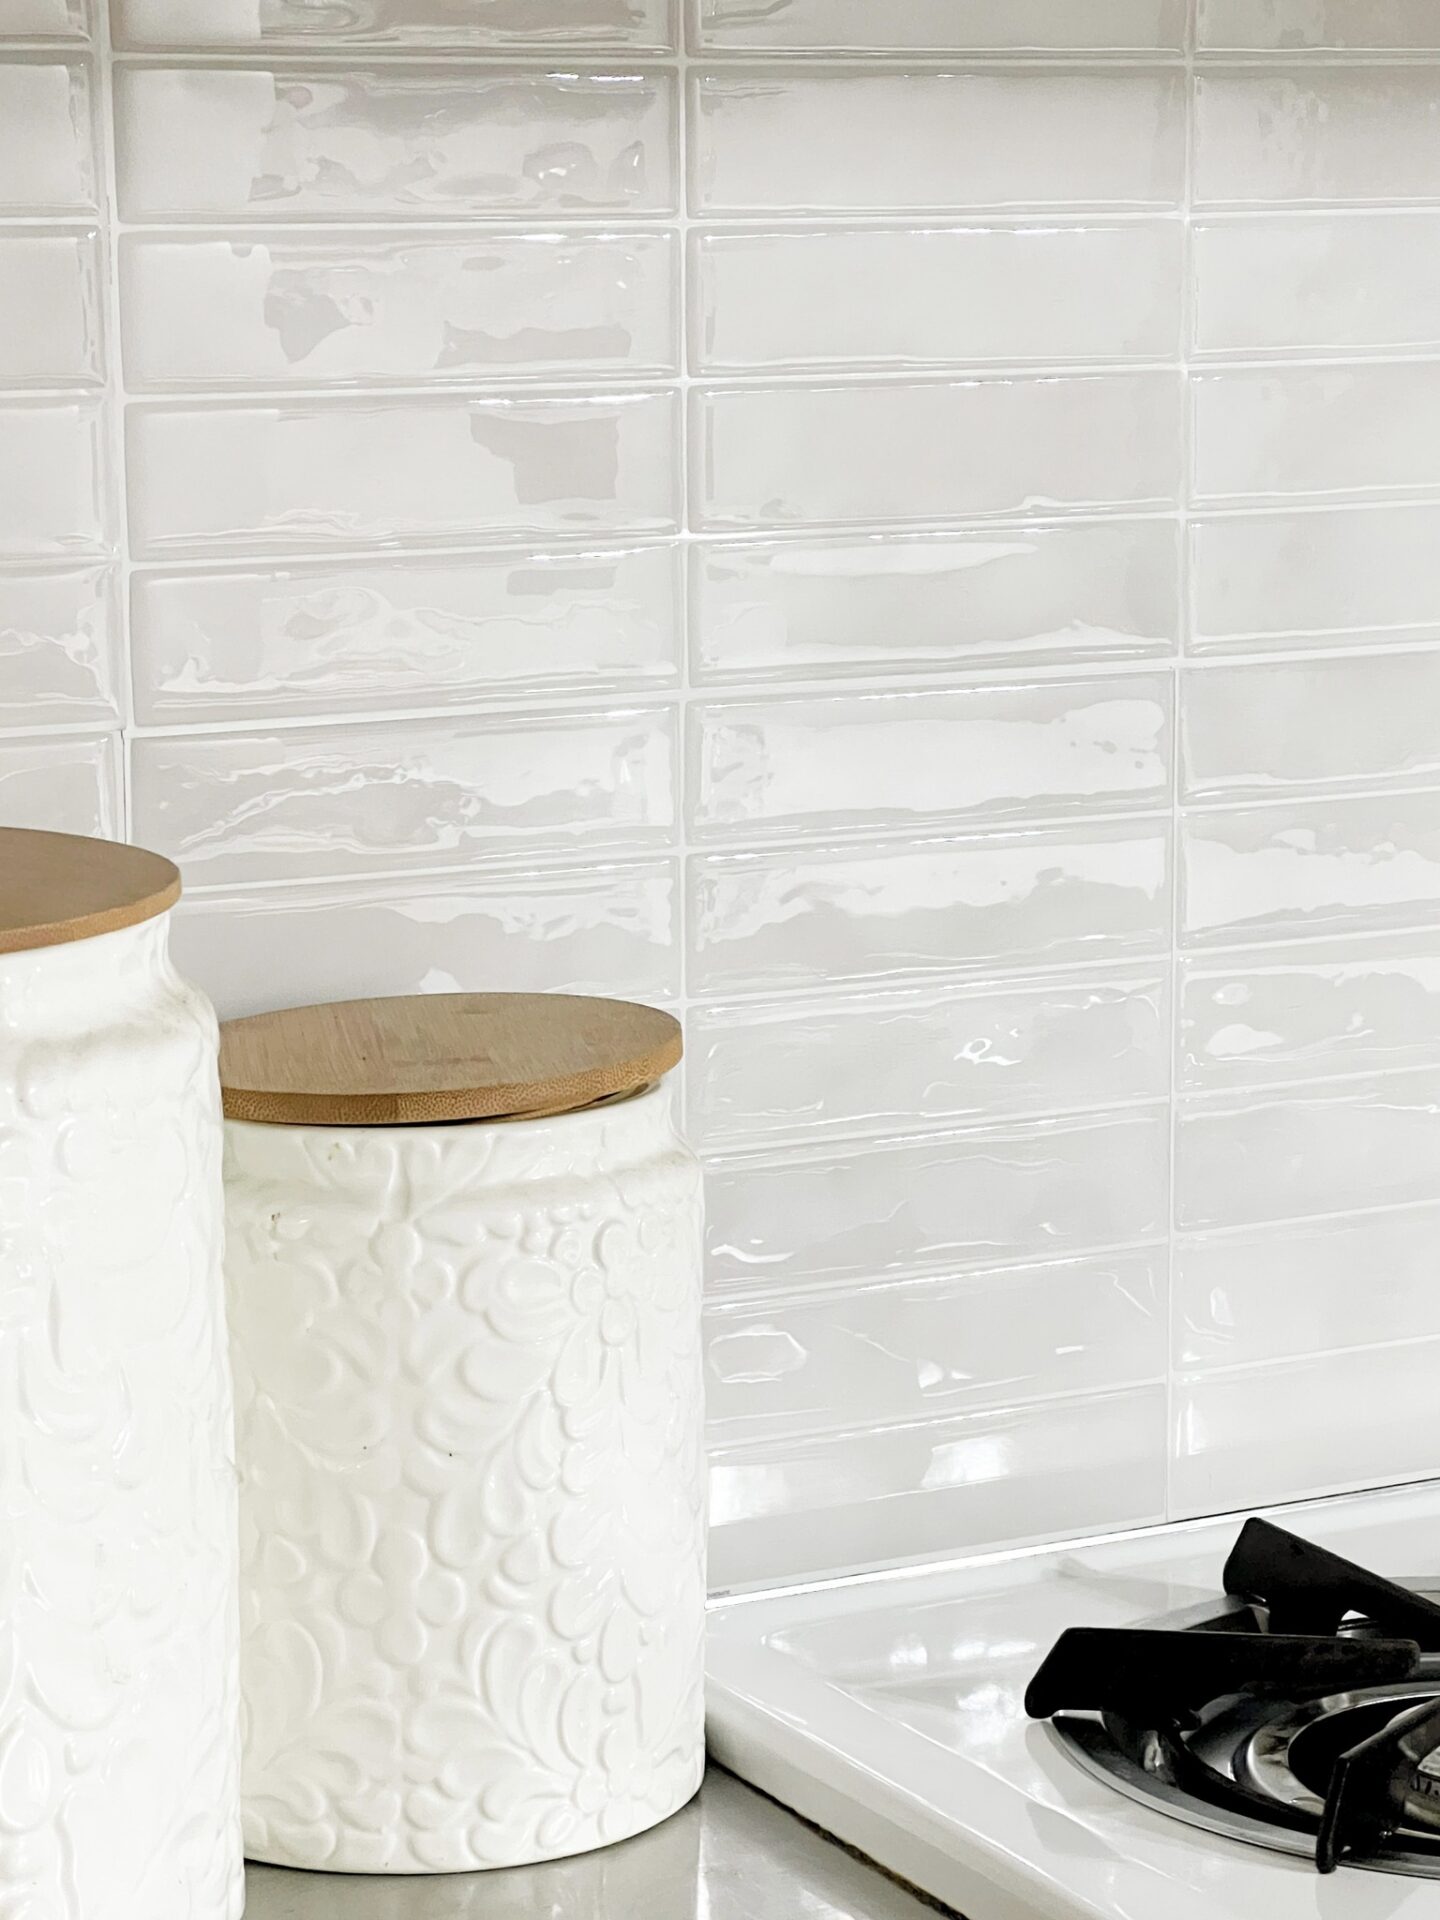
DIY-er’s unite! ![]() If your kitchen is in need of a quick, easy, budget-friendly facelift, this peel and stick backsplash from Amazon was a huge success! It’s available in several color options and only took a few hours to install!
If your kitchen is in need of a quick, easy, budget-friendly facelift, this peel and stick backsplash from Amazon was a huge success! It’s available in several color options and only took a few hours to install!
Other
Guest Room Closet
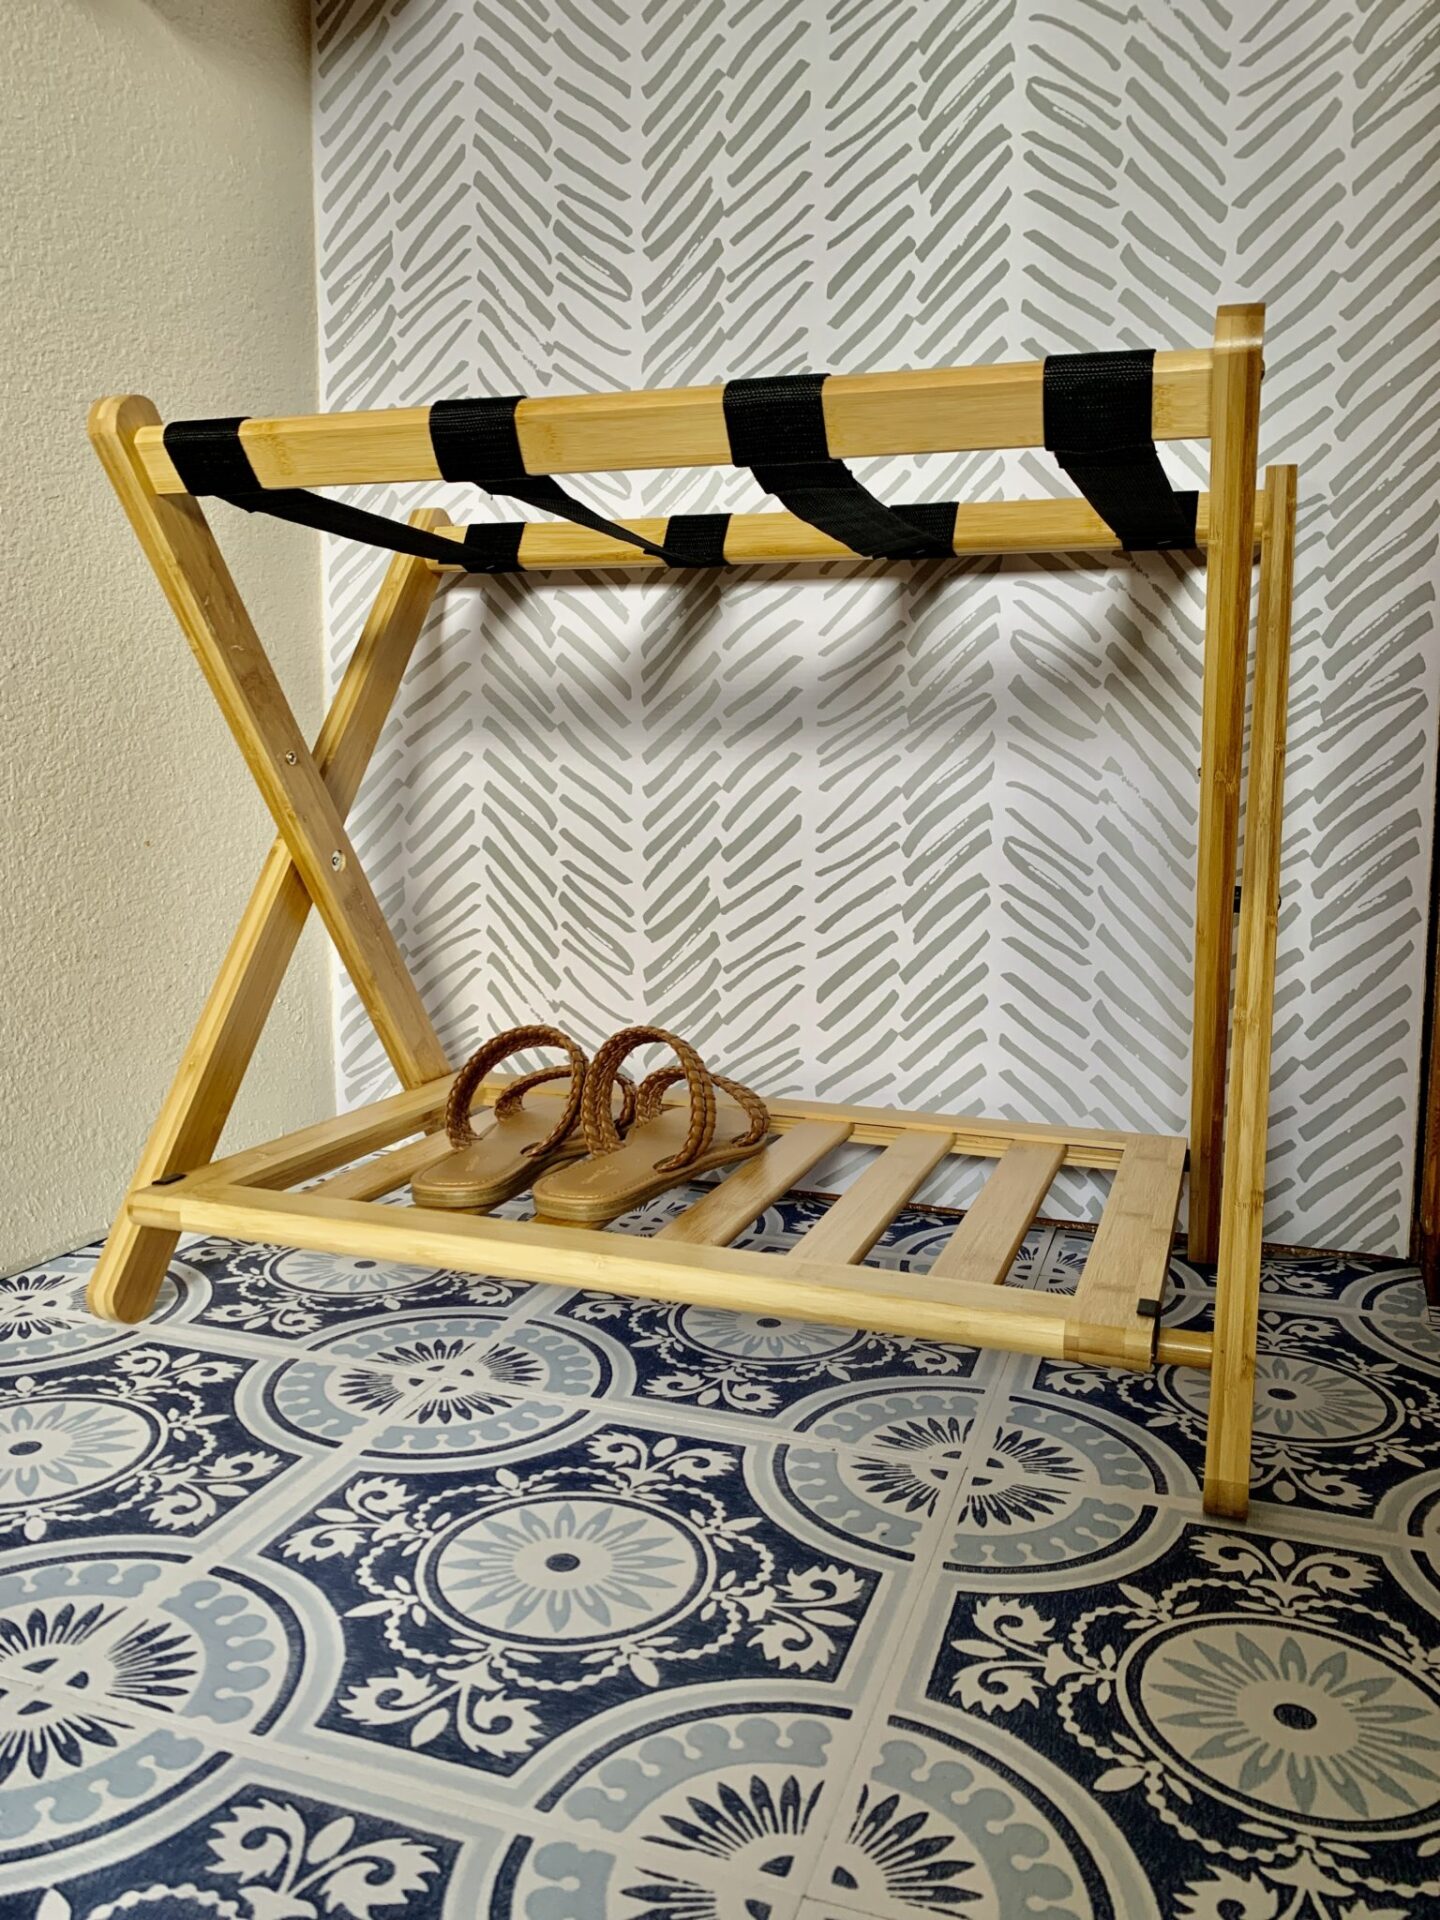
Peel & Stick Wallpaper // Peel& Stick Floor Tiles // Luggage Rack
This little closet needed some love and personality! Dare I say it’s one of my favorite spaces in my home? The easiest way to jazz up a space is wallpaper and tiles… I LOVE that these ones were so easy to install, I was able to complete this project with a ruler, measuring tape, scissors and a step stool! I’ve had this up for over a year and the wallpaper is still up strong & the tiles are perfect still as well! I’m hunting around my house for another space I can add some personality too, this was just so easy!!
Laundry Room
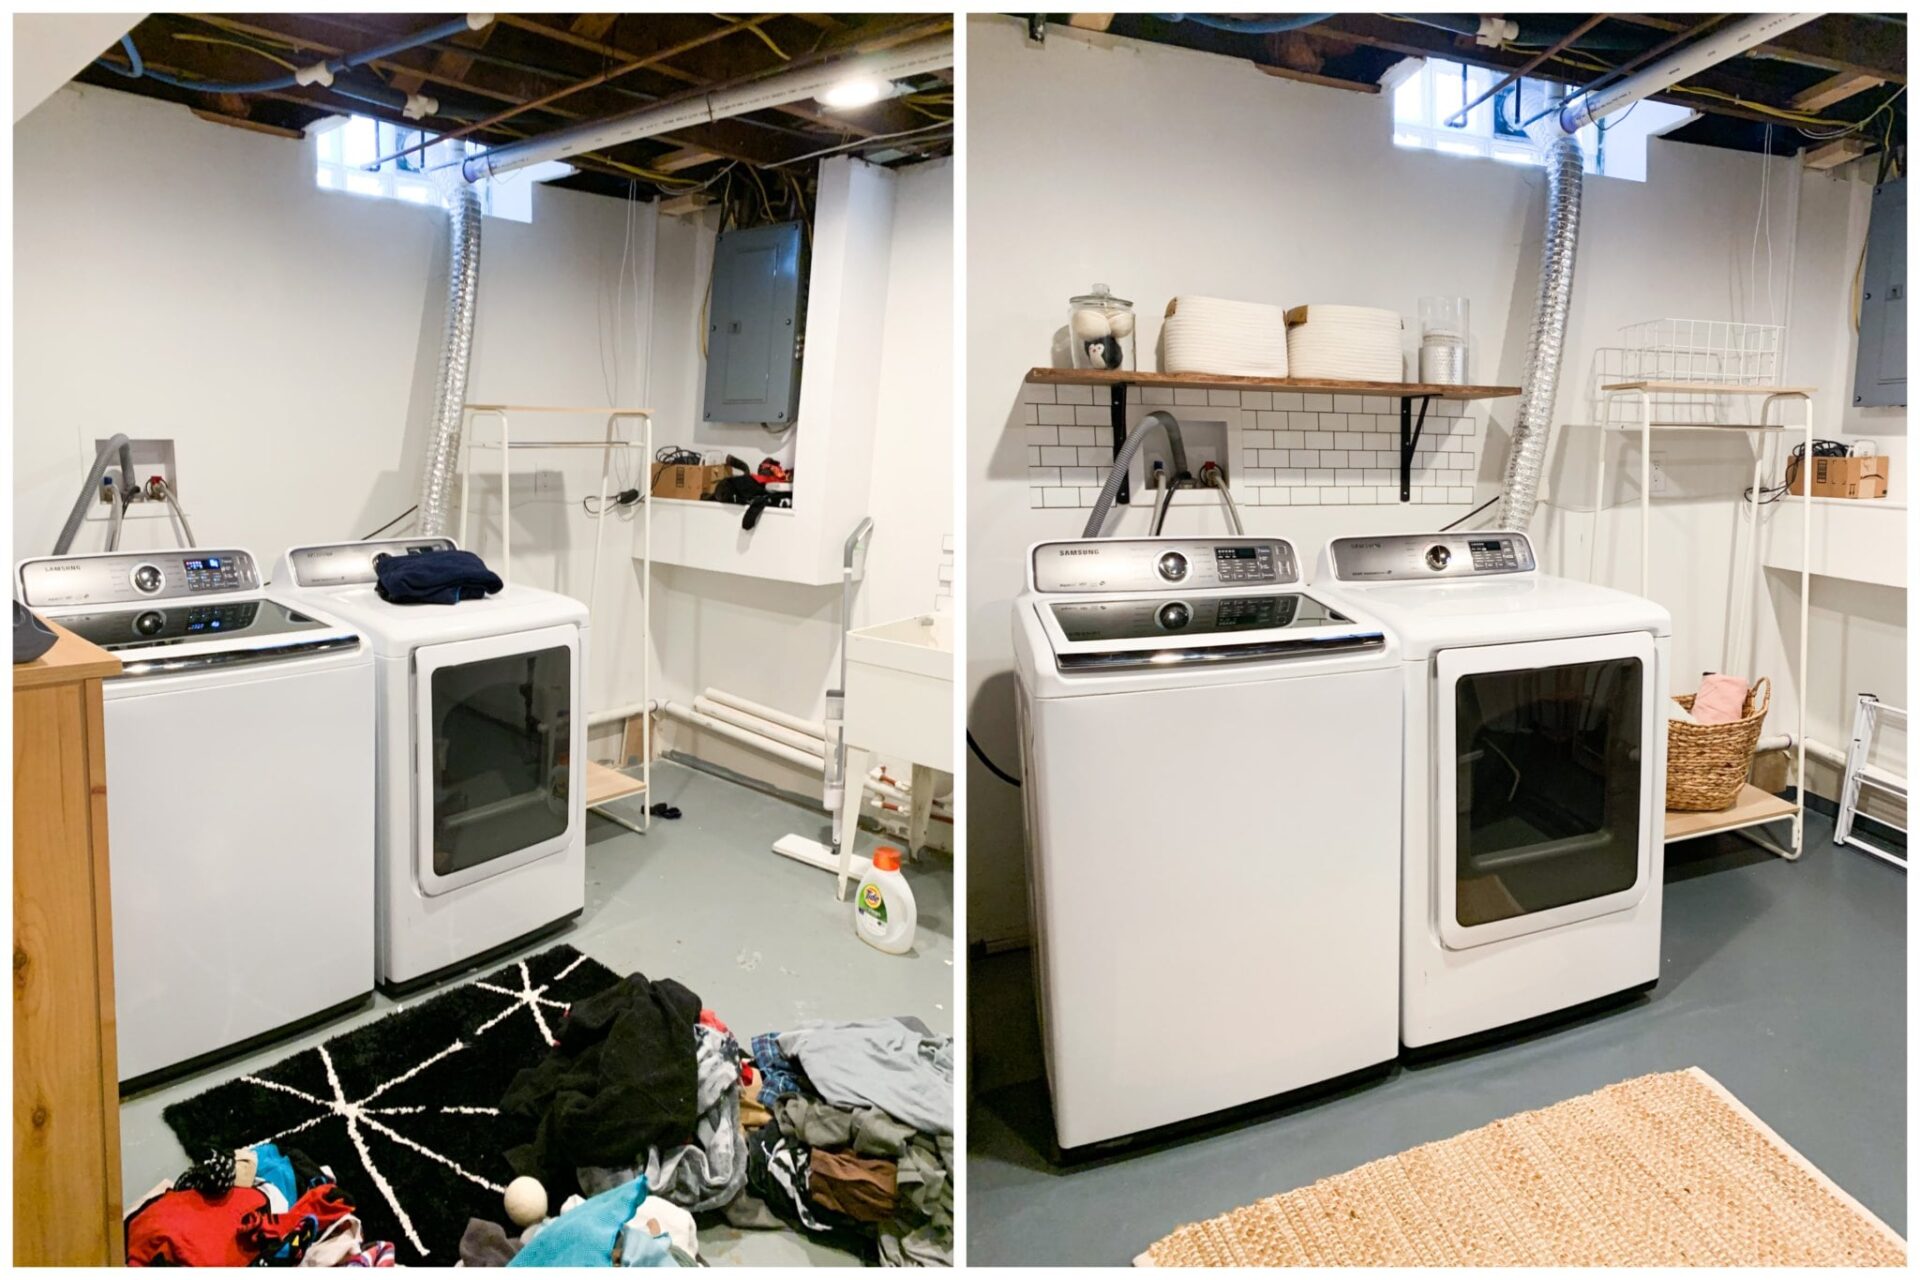
Peel & Stick Tiles // Floor Paint
I wanted to give our basement laundry a little refresh without breaking the bank! We painted our floors, added some decor like these baskets and put up some peel and stick tile! And bam, like new! Maybe someday we will do a full reno, but for now we are very pleased with the outcome!
